Payments
This documentation is actively maintained. Features described here may change as the platform evolves. Last reviewed: February 2025.
Payments record money received from clients against invoices. Each payment can include proof of payment uploads for reconciliation.
Screenshot
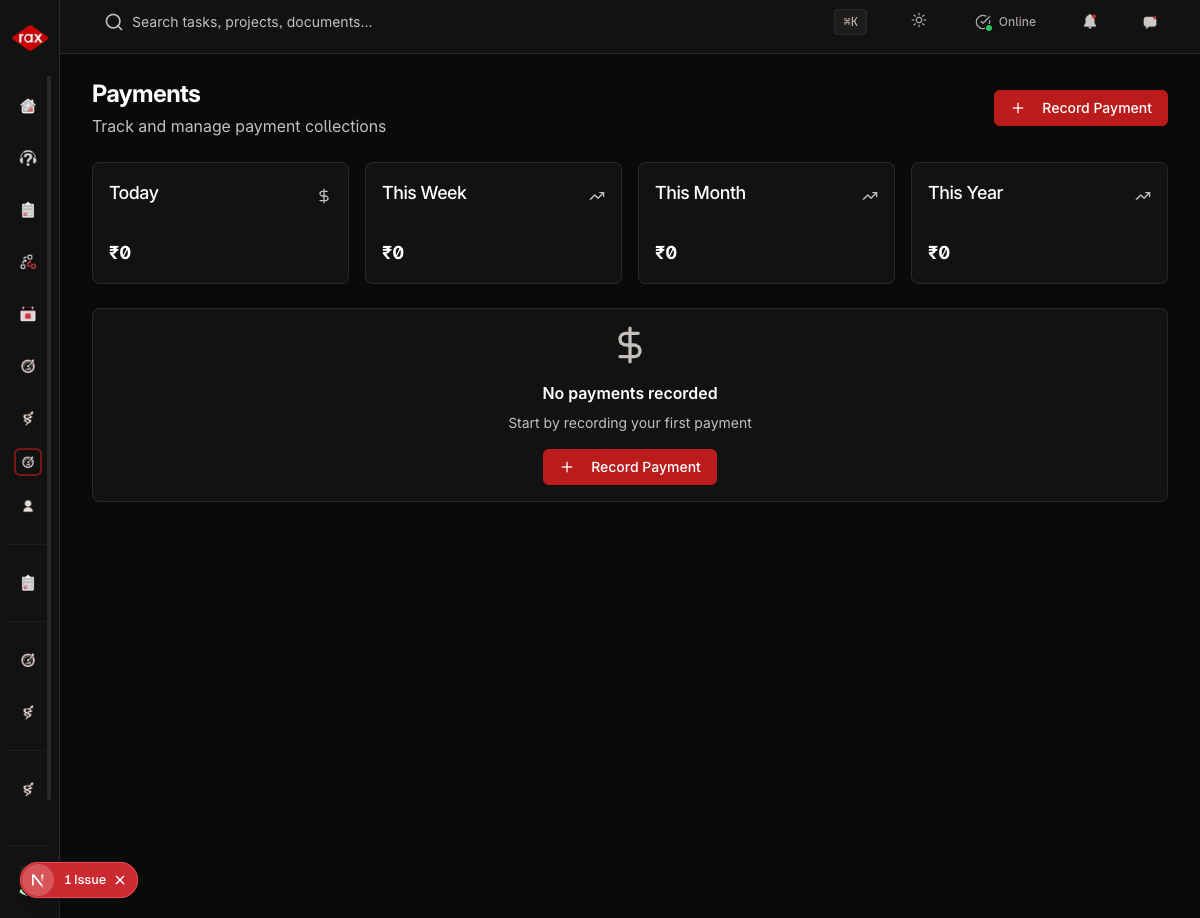
Viewing Payments
- Go to Sales > Payments
- See all payments with client, amount, date, and method
- Filter by payment method or date range
- Click a payment to view details
Screenshots for this page will be added once the Production app pages are restored. The app is currently undergoing a codebase optimization.
Recording a Payment
- Go to Sales > Payments > New Payment
- Fill in the details:
| Field | Description |
|---|---|
| Client | Select the client |
| Invoice | Link to an existing invoice |
| Amount | Payment amount received |
| Payment Date | When payment was received |
| Payment Method | Cash, Bank Transfer, Cheque, UPI, etc. |
| Reference Number | Transaction or cheque reference |
| Notes | Additional details |
- Click Save
The linked invoice is automatically updated:
- If payment covers the full amount → Invoice marked as Paid
- If payment is partial → Invoice marked as Partially Paid
Uploading Payment Proof
To attach proof of payment (bank transfer screenshot, cheque copy, etc.):
- Open the payment record
- Click Upload Proof
- Select the file to upload
- The proof is attached to the payment record
Payment Detail View
Each payment shows:
- Payment amount and method
- Linked invoice details
- Client information
- Proof of payment (if uploaded)
- Date and reference number
Quick Payment
From the dashboard, use the Quick Payment action to record a payment without navigating through the full form — useful for logging payments on the go.
Always link payments to the correct invoice to keep the client ledger accurate. The client's outstanding balance is calculated from invoice totals minus linked payments.